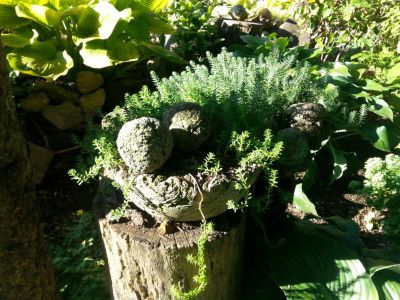
What is Hypertufa?
Hypertufa is a lightweight, porous material used in craft projects. It is made from a mixture of peat moss, Portland cement, and either sand, vermiculite, or perlite. After mixing the ingredients together, they are molded into shape and allowed to dry. Hypertufa projects are limited only by your imagination. Garden containers, ornaments, and statuary are just a few of the items you can fashion from hypertufa. Check flea markets and thrift stores for inexpensive items to use as molds and let your imagination run wild. The durability of hypertufa containers depends on the ingredients you use. Those made with sand can last 20 years or more, but they are quite heavy. If you substitute with perlite, the container will be much lighter, but you will probably only get ten years of use out of it. Plant roots can push their way into cracks and crevices in the container, eventually causing them to break apart.
Hypertufa How To
Before you begin, assemble the supplies you will need. Here are the essentials necessary for use in most hypertufa projects:
Large container for mixing the hypertufa Spade or trowel Mold Plastic sheeting for lining the mold Dust mask Rubber gloves Tamping stick Wire brush Water container Hypertufa ingredients
How to Make Hypertufa
Once your supplies are ready, you will need to know how to make hypertufa containers and other objects. While there are a number of recipes available online and in print, here is a basic hypertufa recipe suitable for the beginner:
2 parts Portland cement 3 parts sand, vermiculite, or perlite 3 parts peat moss
Moisten the peat moss with water and then thoroughly mix the three ingredients using a spade or trowel. There should be no lumps. Gradually add water, working the mix after each addition. When ready, the hypertufa should have the consistency of cookie dough and hold its shape when you squeeze it. Wet, sloppy mix won’t hold its shape in the mold. Line the mold with plastic sheeting and place a 2 to 3 inch (5-8 cm.) layer of hypertufa mixture in the bottom of the mold. Line the sides of the mold with a 1 to 2 inch (2.5-5 cm.) layer of mix. Tamp it in place to remove air pockets. Allow your project to dry in the mold for two to five days. After removing it from the mold, allow an additional month of curing time before using your container.
